How To Build a Hello-World Cron Job With Firebase in 2019
Updated for changes made in 2019

When I first started programming, one of the first tools I wanted to create was an app that could run blocks of code every day (or some other time interval).
But when you’re just starting out, like I was, I didn’t know what to Google to figure out how to do that. If you don’t know much about me, I was originally a psychology student and originally taught myself how to code in MATLAB. I’m writing this article to explain the basic building blocks of writing a cron job (a block of code that can run at a specified time interval) for people like me.
So whether you’re an experienced programmer or a complete noob like I was, here’s everything you need to know to write your first cron job.
Here’s a list of tools you will need to be familiar with to follow along:
- Node.js
- Basic command line stuff with BASH
1. Prerequisites
The first thing we need to do is make sure that Node.js is installed on our machine. You can check if you already have it installed by opening up your terminal program and running the command:
node -vIf you get the “Error command not found” error, then you don’t have it installed. Just go here to download it real quick.
If it gave you a version, then you’re all set with Node.js.
Second, we need to make sure we have the latest version of npm installed. Npm (or Node Package Manager) is how we’re going to install the Firebase CLI. Npm comes with Node.js, but just because you downloaded Node.js doesn’t mean you have the latest version of npm. Just to be safe, run the following command:
npm install npm@latest -gFinally, we need to install the Firebase CLI (or Command Line Interface). This will allow us to initialize and deploy our cloud function all from our terminal.
If you want to read the documentation on the download you can read more here.
But if you’re impatient (like me), just run this command in your terminal:
npm install -g firebase-tools2. Something Needs to Run Your Code
If you’ve put any thought into how something like a cron job works, you’ve probably realized that some device needs to be active in order to actually execute your code.
You have three common options:
Cloud Functions
Cloud Functions is extremely easy to set up, is incredibly lightweight, and makes cron jobs a breeze. Because it is so easy to use, we will be using it throughout this tutorial.
There are lots of great technologies out there for setting up cloud functions, and you can’t really go wrong. However, I recommend either AWS Lightsail or Google’s Firebase. In this tutorial we’ll be using Firebase because their CLI is extremely simple for deploying a cloud function.
AWS/DigitalOcean-type instance:
Another option is to set up your own machine instance. In short, this basically means that you’re activating a computer (just like the one you’re on right now) somewhere else in the world that will run forever. And because it’s always on, activ,e and maintained by someone else, it will be available to execute your code on a time interval.
For this I highly recommend AWS EC2 Instance, DigitalOcean, or Kubernetes Cluster.
Program your own hardware
This is essentially the same as setting up a machine instance, except you’re in charge of making sure that the machine is running and being maintained. I do not recommend doing this unless you are an expert — unless you’re just looking to have fun with a Raspberry Pi or something.
3. Initializing a Firebase Project
Now let’s start writing some code.
- Open your terminal.
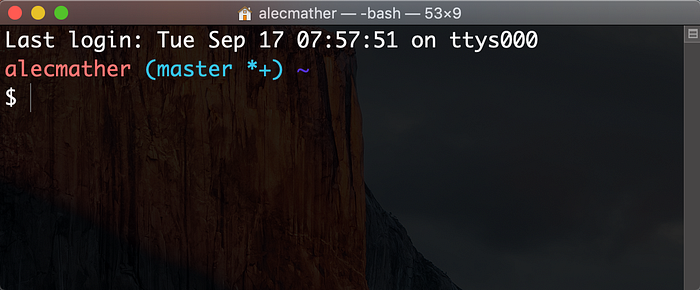
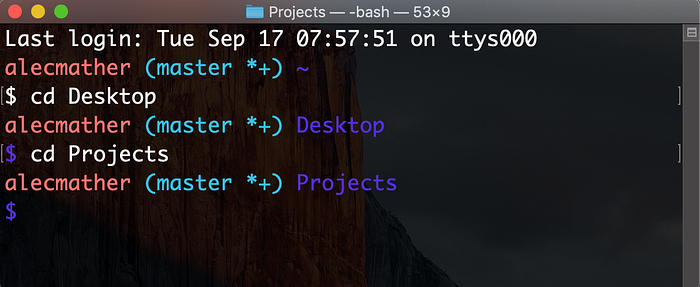
I’m going to go into my Projects directory, but you can navigate to wherever you want to store your code.
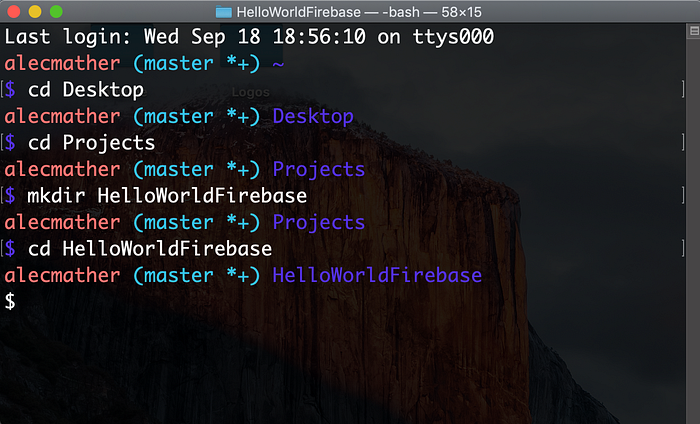
Now I need to create my project directory, which is where I’ll be storing this project. So let’s create a new folder with:
mkdir HelloWorldFirebaseAnd navigate into it with:
cd HelloWorldFirebaseWhich will bring us here:
OK, now I’m where I want to be, so I’m going to initialize a new Firebase app by typing the following command:
firebase initNote: If you get an “Error command ‘firebase’ not found,” then you didn’t install the Firebase CLI correctly. Go back, and try installing it again.
If everything works, you’ll get an output that looks like this:

Firebase makes the initialization process super easy for us. You can use the arrows on your keyboard to select one of their initialization options.
All we want to do with our cloud function is get code to run every minute or so. So I’m going to pick the option “Functions: Configure and deploy Cloud Functions” by hitting space and then confirm my choice by hitting Enter.
It will then ask you to either select an existing project or to create a new project. I’m not going to display my screen on this step in order to protect the privacy for my existing projects, but all you have to do is scroll down and select [create new project].
Then it will ask you to select a language, either Javascript or Typescript.
I picked JavaScript, but if you like Typescript, you do you.
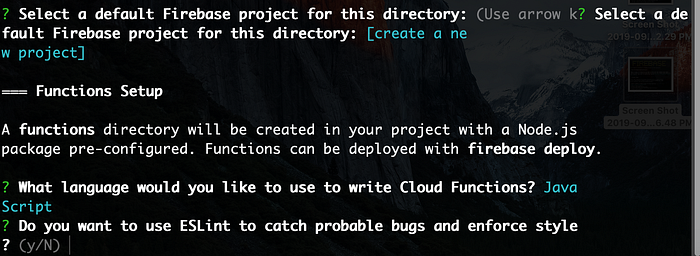
It’ll ask you if you want ESLint enabled. Just hit Y and Enter.
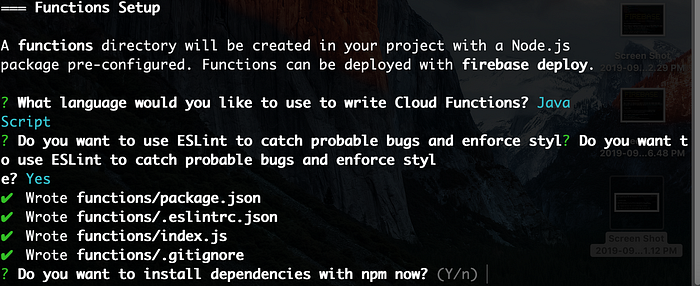
This is just asking if you want to install npm dependencies now, which is something you’re going to do eventually anyway, so we might as well do it now. Hit Y and Enter.
If everything goes according to plan, we should see something that looks like this:
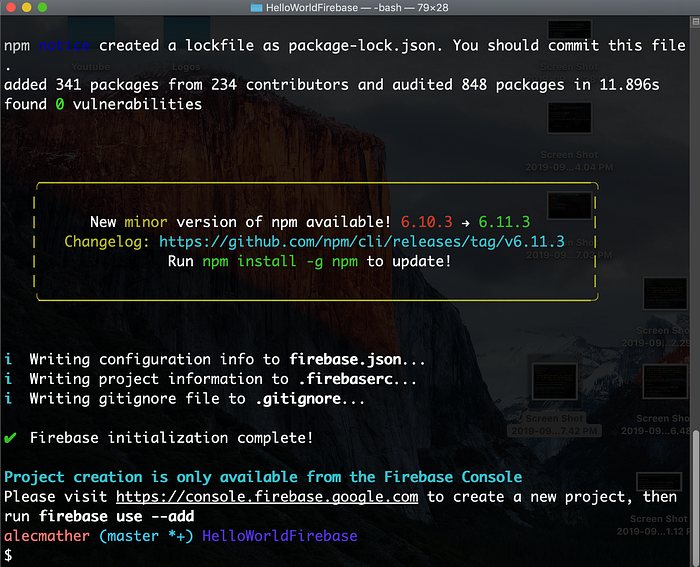
If you’ve gotten this far, congrats! You have just initialized your first cloud function with Firebase.
4. Configure Google Cloud Console
First, you need to log in to the Firebase console. Go here, and log in or sign up with Google. Once you’re in, go here to create your first project.
Again, to protect the privacy of my projects, I won’t show my screen at this step, but just click on the big button that says “Add Project.”

Choose a name for your project (they have some restrictions on certain characters), and hit “Continue.”
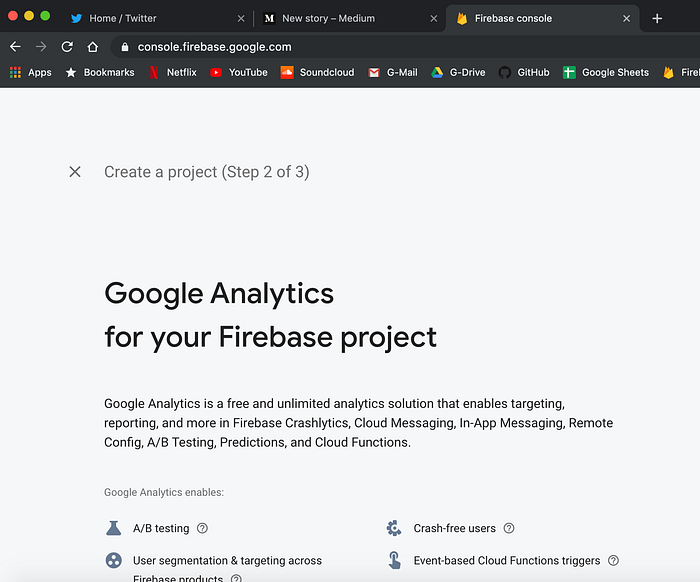
That’ll bring you to Step 2.
Scroll down a little bit, and turn off Google analytics. We won’t need that.

And hit “Create Project.”
Give it a second to initialize your app, hit continue again, and it will bring you to the Firebase console.
Before we’re done here, we still need to do two (kind of annoying) things.
Upgrade your billing plan and add a credit card.
I know this sucks, but Google does this so you can’t just start using 8 trillion TB of computing power. If you go over a certain limit, they’ll tell you. But trust me, you can get away with a pretty decent amount without paying anything. Especially when in development.
First you need to create a billing account with Google. Go here, sign in, and hit “Create Account.”

Choose a name (doesn’t really matter what you call it).

Then go through the normal billing account setup stuff.
When you’re done, hit “Submit,” and it should bring you to this console.
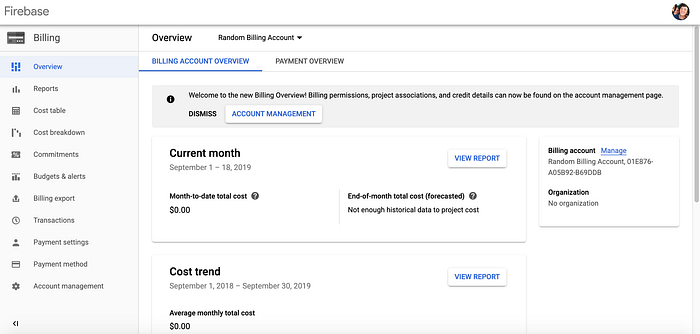
Awesome, now you have a Google billing account you can link your project to.
Go back to your Firebase console here, and select the project you created, which should look like this:
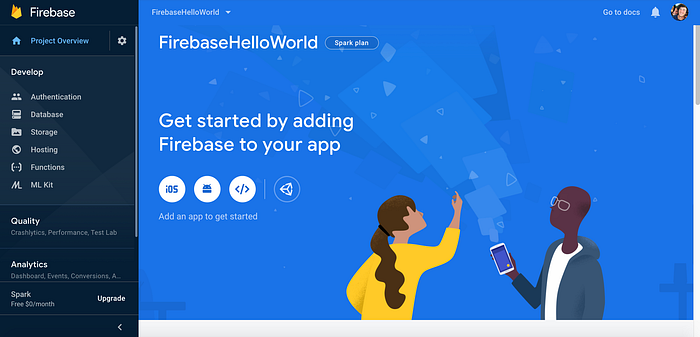
On the left-hand side is your navigation. Now, we have the Spark plan, and we want to upgrade our project to the Blaze plan so we can enable billing.
Look at the bottom of your navigation where it says “Upgrade,” and click that.
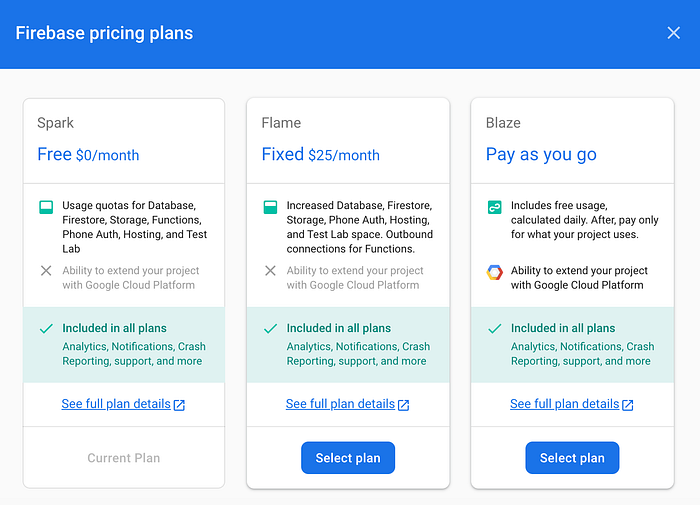
Click “Select Plan” under “Blaze.”
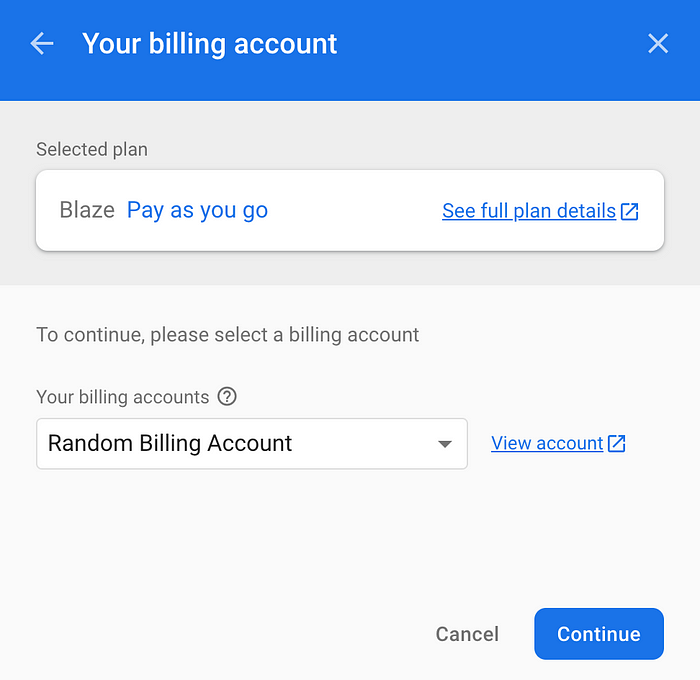
Now select the billing account you just created to link it to. If you only have one billing account, then it won’t give you a drop-down. However, because I have multiple, it allows me to select which one I want to link.
Also, “Random Billing Account” is the name that I chose to give my billing account. It is not just some random person’s account.
Hit “Purchase” (don’t worry, they don’t charge you anything), and you should get an email notifying you of your upgrade.
OK. We’re done with that.
Set your GCP resource location
I don’t actually know why Google requires this only for cron jobs, but we need to set our GCP resource location. This is pretty easy, though.
In your Firebase console’s navigation, find the little gear symbol near the top. Click on that, and click “Project Settings,” which will bring you here:
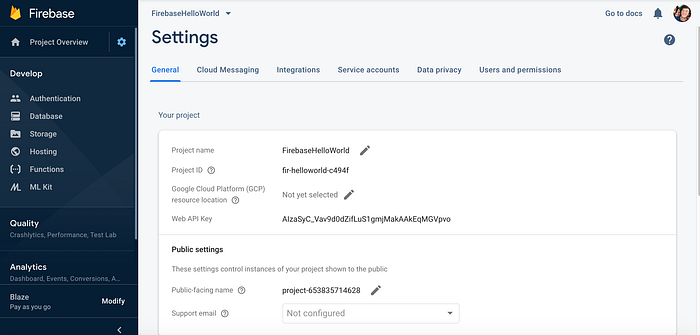
To the right of where it says “Google Cloud Platform (GCP) resource location,” click the little pencil next to where it says “Not yet selected,” which will open this:
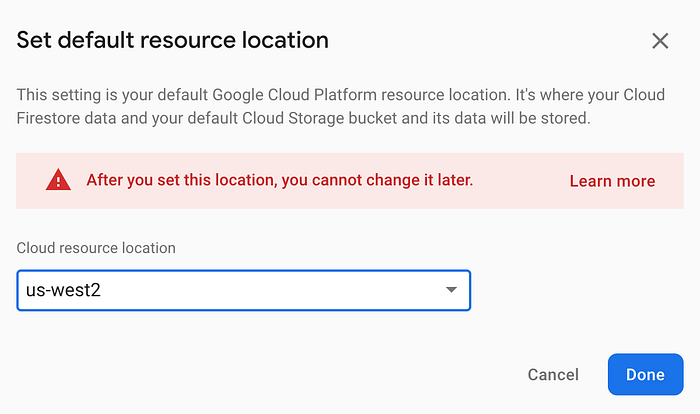
You can always just Google the locations in the drop-down to see which one is closest to you, but I live in Los Angeles, so I’m going to use us-west4.
OK, we’re finally done with the console.
5. Code Your Project
Open your project directory in your favorite text editor. I’m going to use VSCode.

Here’s the base structure of our project. For the purposes of what we’re doing, the only thing we really care about is the index.js file inside the “functions” directory. So let’s open that up.
It gives us a sample cloud function written in the comments here. However, this example is for an HTTP function, and we want a cron job. The difference between the two is how they’re invoked:
- An HTTP function is invoked by sending an HTTP request (like a GET or POST request) to the function, the same way a server invokes a route when it gets an incoming request
- A cron job is invoked on a schedule
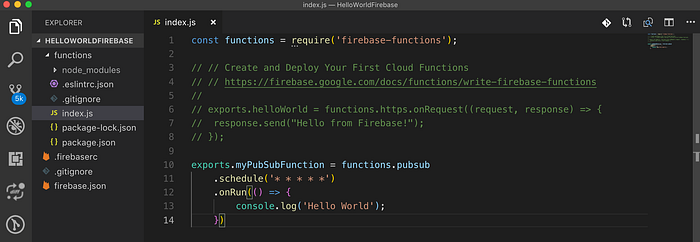
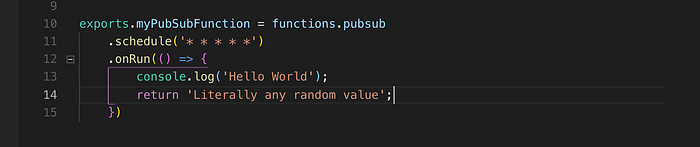
I’m going to add the minimum amount of code required to run our program.
If you don’t care what this means, you can skip to the next section. If you’re interested, I’ll break down each line of this code.
exports.myPubSubFunction
This is adding our function to the exports object and calling our function “myPubSubFunction.”
The exports object can hold multiple functions, so if we wanted to add more functions to deploy to our Firebase project, we can just add more functions to the exports object in this index.js file.
2. functions.pubsub
The functions class is the base of how we do all our Firebase stuff in this file.
Earlier we saw an example of an HTTP function by doing this:
functions.httpWe want to create what’s called a Pub/Sub function, which is basically just Firebase’s way of saying a cron job.
3. .schedule('* * * * *')
This is how we schedule the job. The five asterisks represent the idea, “Do this function every minute.” If you want to learn how to create your own time interval, go to Cron Tab Guru, which will help you.
4.
.onRun(() => {console.log(‘Hello World’);})
This is the callback function that will be invoked when our function actually gets invoked. Here, all we do is tell the Firebase console to log a good old- fashioned “Hello World.”
6. Deploy Using Firebase CLI
Thank you Firebase for making this part so easy for us.
Open your terminal program again, and navigate into your project directory. I’m going to use the VSCode integrated terminal.

1. Log in to you Firebase account from the command line using the command:
firebase loginIt will give you a prompt. Just hit Y and Enter, which will open your browser to authenticate with Google. Do all that login stuff, and when you’re done, close that page and return to your terminal. You should now be logged in inside your terminal program.
2. Link your local code to the Firebase console project you created
In order to link your project, you need to get your project ID. Use this command:
firebase listThis will list out all your active projects from the Firebase console. The second column, where it says “Project ID / Instance,” is the project ID. Find the project you created, and copy the ID from the second column.
Then use the following command:
firebase use --add <Paste your project ID here>So mine looked like this:
firebase use --add fir-helloworld-c494f3. Deploy your project
Finally, the moment we’ve all been waiting for …
firebase deployThis will push your project to the cloud. If all the checks go fine, you should be good to go.
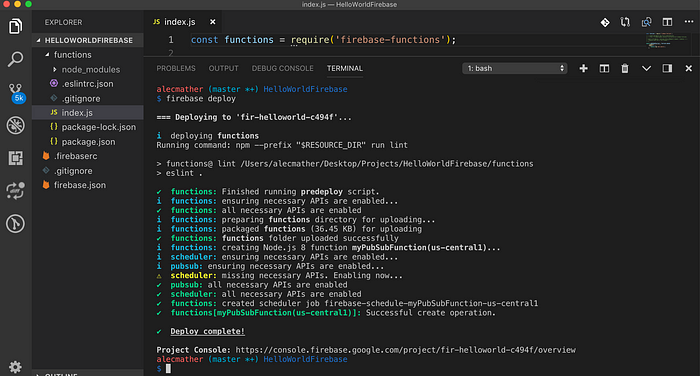
4. Check to make sure your project is running
Go back to the Firebase console, select your project, and in the navigation there should be a button that says “functions.” Click that, and it should bring you here:
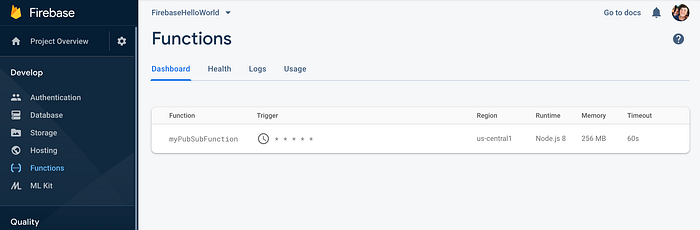
It’s now showing that we have an active cron job running at our “* * * * *” interval. Click on “Logs” to see the console.log(‘Hello World’).
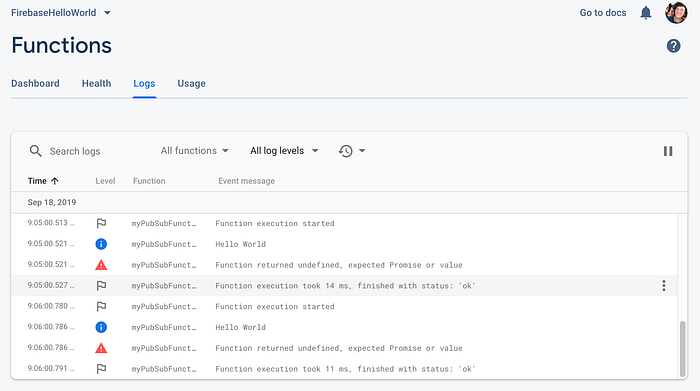
And we see that our job is running.
Note: Where you’re seeing the alerts in my logs just means that in our function, we did not return any value, and apparently they want us to return something. To fix this, we can just add this to our code:
Save our file.
Deploy our function again using:
firebase deployIt’ll do all its checks again.
Go back to the Firebase console where we were looking at our logs again.
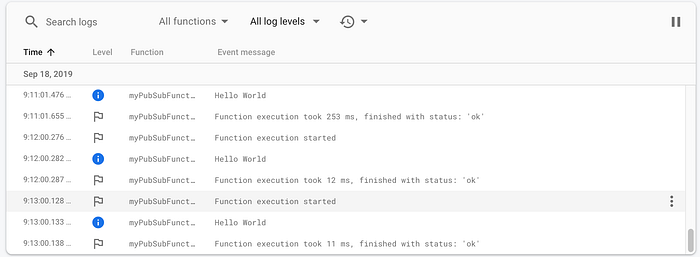
And it’s no longer there.

